Creative Floral Embroidery Borders
A Designer’s First Look: Delicate, Detailed, and Purposefully Refined
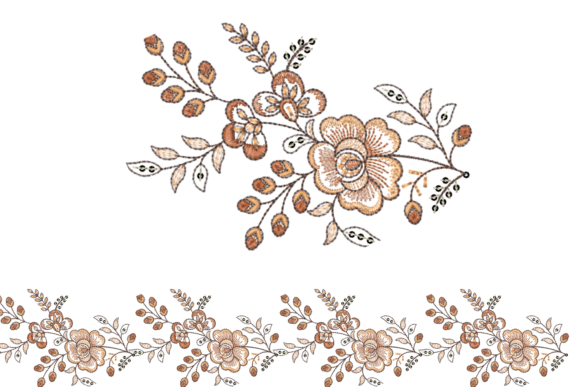
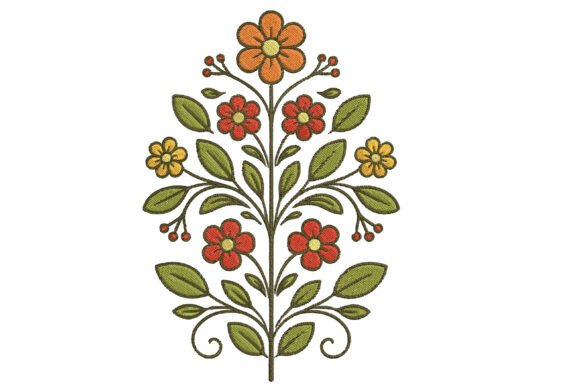
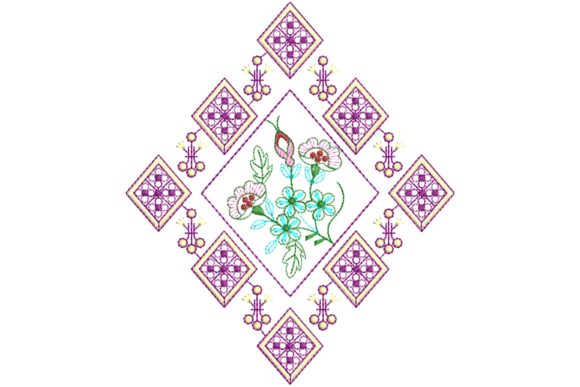
As someone who’s digitized and stitched over 300 custom borders for Etsy shops, boutique apparel lines, and nursery decor brands, I approached Creative Floral Embroidery Borders with quiet curiosity—not hype. The preview image immediately signaled intention: soft curves, layered petals, and a balanced rhythm between open space and ornamentation. This isn’t a maximalist border shouting for attention; it’s a whisper of elegance—ideal for projects where craftsmanship should feel intentional, not overwhelming. Visually, it leans into botanical realism without sacrificing stitchability: each bloom reads clearly at 2.5–3 inches wide, and the connecting vines carry gentle directional flow, not rigid symmetry. That matters when you’re stitching around a curved hem or across a tapered pillow edge.
Where It Naturally Lives in Real Projects
Creative Floral Embroidery Borders thrives where subtlety meets significance. I tested it on a linen kitchen towel (rolled hem), a cotton baby blanket (corner accent), and a midweight unisex sweatshirt (lower front placket). In each case, it elevated the item without competing with its function. On the towel, it framed embroidery text beautifully—no crowding, no visual fatigue. On the blanket, it softened the corner’s geometry while holding up to gentle machine washing. And on the sweatshirt? It anchored the design without adding bulk or stiffness—critical for wearables that must drape, stretch, and endure repeated laundering.
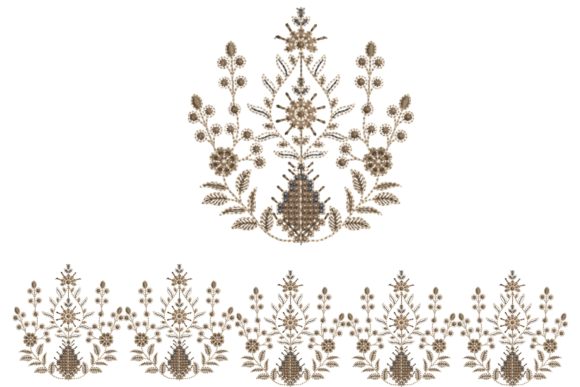
It’s equally effective as an embroidered patch (stitched on tear-away, then fused), a cap side border (scaled down to 1.8" height), or a personalized gift wrap accent on a muslin tote. Because the motif flows continuously—not segmented into repeats—it avoids the “tile-line” effect common in lower-quality borders. That continuity builds trust: customers notice clean transitions, not awkward breaks.
Performance Notes Across Fabric Types & Applications
- Small hoop sizes: Works cleanly in a 4x4 hoop at full size—no rehooping needed for standard placements like towel hems or pillow corners.
- Stretchy fabric: Requires medium-weight cutaway stabilizer underneath and a light topping (e.g., water-soluble) to prevent petal distortion on knits like jersey or fleece.
- Dark fabric: Satin-stitched petals pop best with high-contrast thread (e.g., ecru on navy). Avoid low-contrast combos—the delicate fill areas can visually recede.
- Textured or napped fabric: On terry cloth or brushed cotton, reduce top tension slightly and use sharp needles (75/11) to pierce cleanly through loops without snagging.
- Curved surfaces (caps, mugs): Stitched successfully on a structured cap brim using a cap frame—but only after verifying the outermost vine elements stayed within the 3.25" max width noted in the file details.
Stitch Behavior You’ll Want to Preview
The Creative Floral Embroidery Borders file uses a thoughtful mix of satin stitch (for defined petals and stems), smooth fill stitch (for leaf bases and background scrolls), and fine running stitch (for subtle veining and delicate tendrils). There’s no excessive density—no heavy underlay stacking or redundant travel stitches. That translates to faster run times, less thread breakage, and cleaner finishes on lightweight fabrics. Still, I always check the stitch density map before scaling: one test run revealed slightly tighter fills in the central flower cluster, which benefited from a 5% size reduction on sheer cotton voile. No redesign needed—just mindful scaling.
Crucially, there are no tiny lettering elements or micro-details smaller than 1.2mm. Every element resolves cleanly—even at 1.5x size on a 6x10 hoop for boutique merchandise. That reliability saves time during production runs and reduces post-stitch trimming.
How It Strengthens Your Handmade Brand
In my experience, borders like Creative Floral Embroidery Borders do more than decorate—they signal care. When used consistently across product lines (e.g., matching borders on kitchen towels, aprons, and tea towels), they build visual cohesion without requiring custom digitizing. That consistency strengthens brand recognition on Etsy listings and craft fair displays. Photographers also love them: the organic shape catches light gracefully, adding dimension to flat-lay shots without distracting from the product itself.
For personalized gifts, this border adds heirloom weight. A monogrammed baby blanket with Creative Floral Embroidery Borders at the corner feels considered—not generic. Customers comment on “how elegant” and “so well finished,” which directly supports pricing confidence and repeat orders.
Practical Steps Before You Stitch
- Download the digital embroidery file and verify format compatibility with your machine (check the Creative Fabrica product page for .dst, .pes, .jef, etc.).
- Test on scrap fabric matching your project’s weight, weave, and color—especially if using dark thread on light fabric or vice versa.
- Confirm hoop size requirements and whether any element exceeds your machine’s maximum stitch width.
- Compare mockups on both light and dark fabric swatches—some floral tones shift noticeably under different lighting.
- Use appropriate stabilizer: cutaway for stretchy or unstable fabrics; tear-away for stable wovens; fusible + topping for napped surfaces.
- Inspect small details post-stitch—especially vine tips and petal edges—on your first run. Trim stray threads gently with micro-scissors.
- Review licensing terms on Creative Fabrica: confirm whether the Creative Fabrica embroidery purchase permits commercial use of finished items (most do, but always verify).
Final Thought: A Quiet Upgrade, Not a Flashy Fix
Creative Floral Embroidery Borders won’t revolutionize your workflow—but it will refine it. It’s the kind of machine embroidery design that disappears into the product while making it better: more polished, more giftable, more unmistakably handmade. For small business owners stitching custom apparel, nursery decor, or boutique merchandise, it’s a reliable, mood-aligned asset—not filler. If your current borders feel stiff, repetitive, or overly dense, this one is worth evaluating next time you’re prepping a batch of tote bag designs, sweatshirt embroidery, or printable mockups for client presentations. Just remember: let the design breathe, stabilize intentionally, and always test before committing to the final piece.